Table of Contents
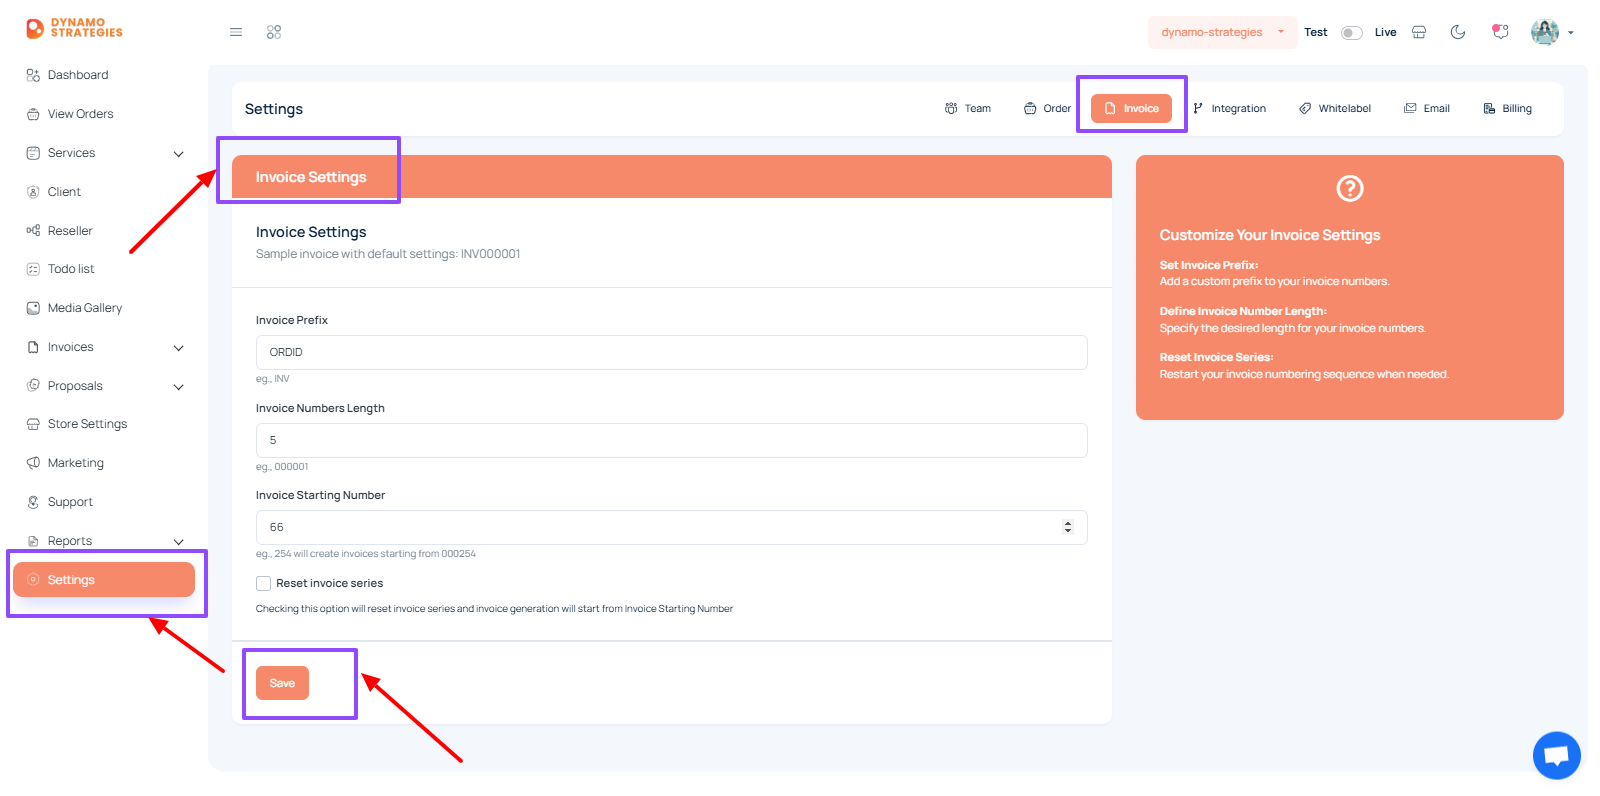
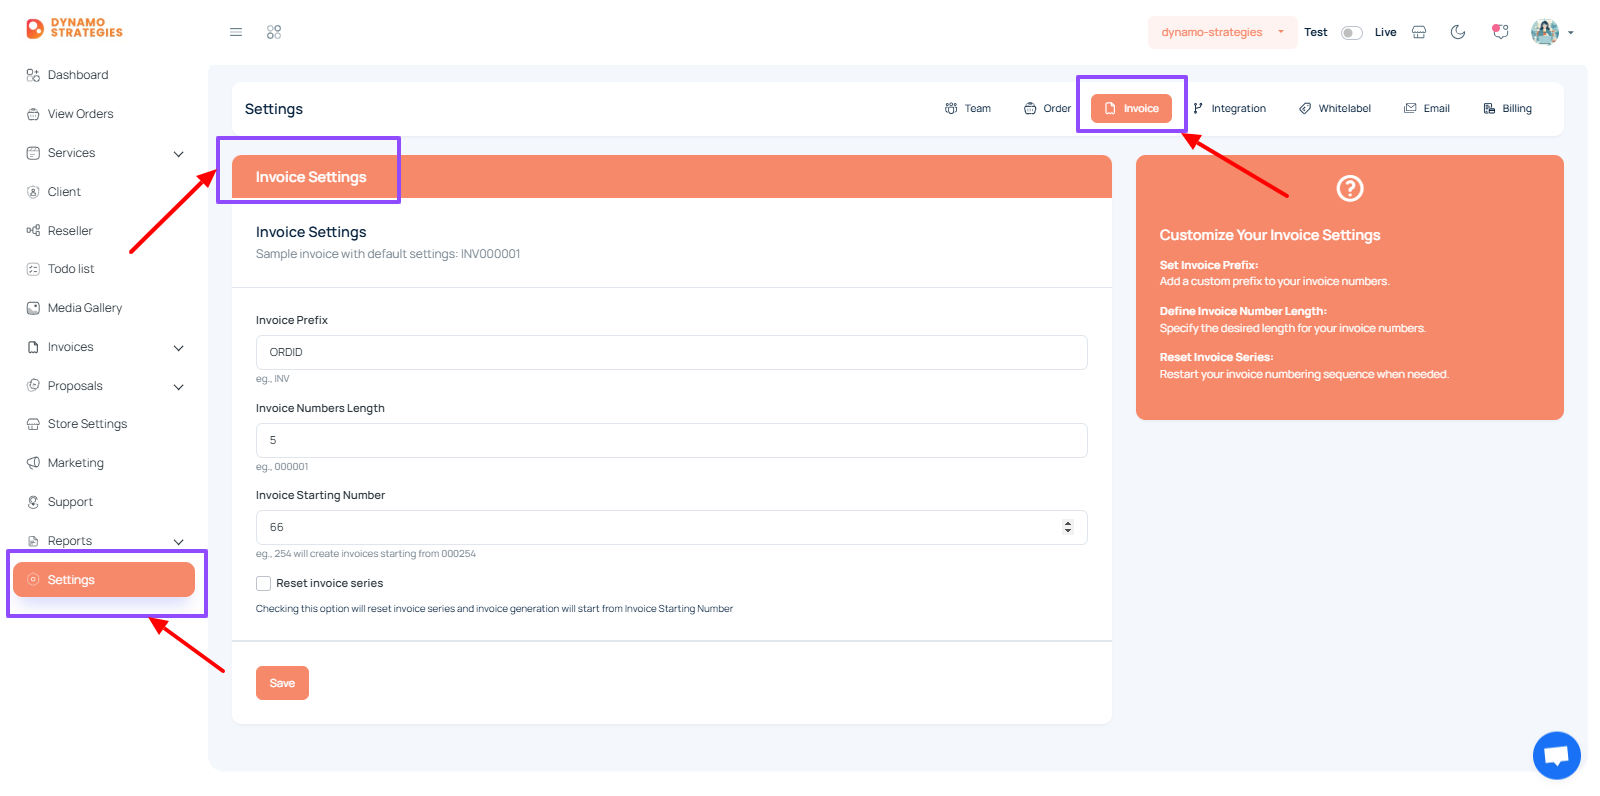
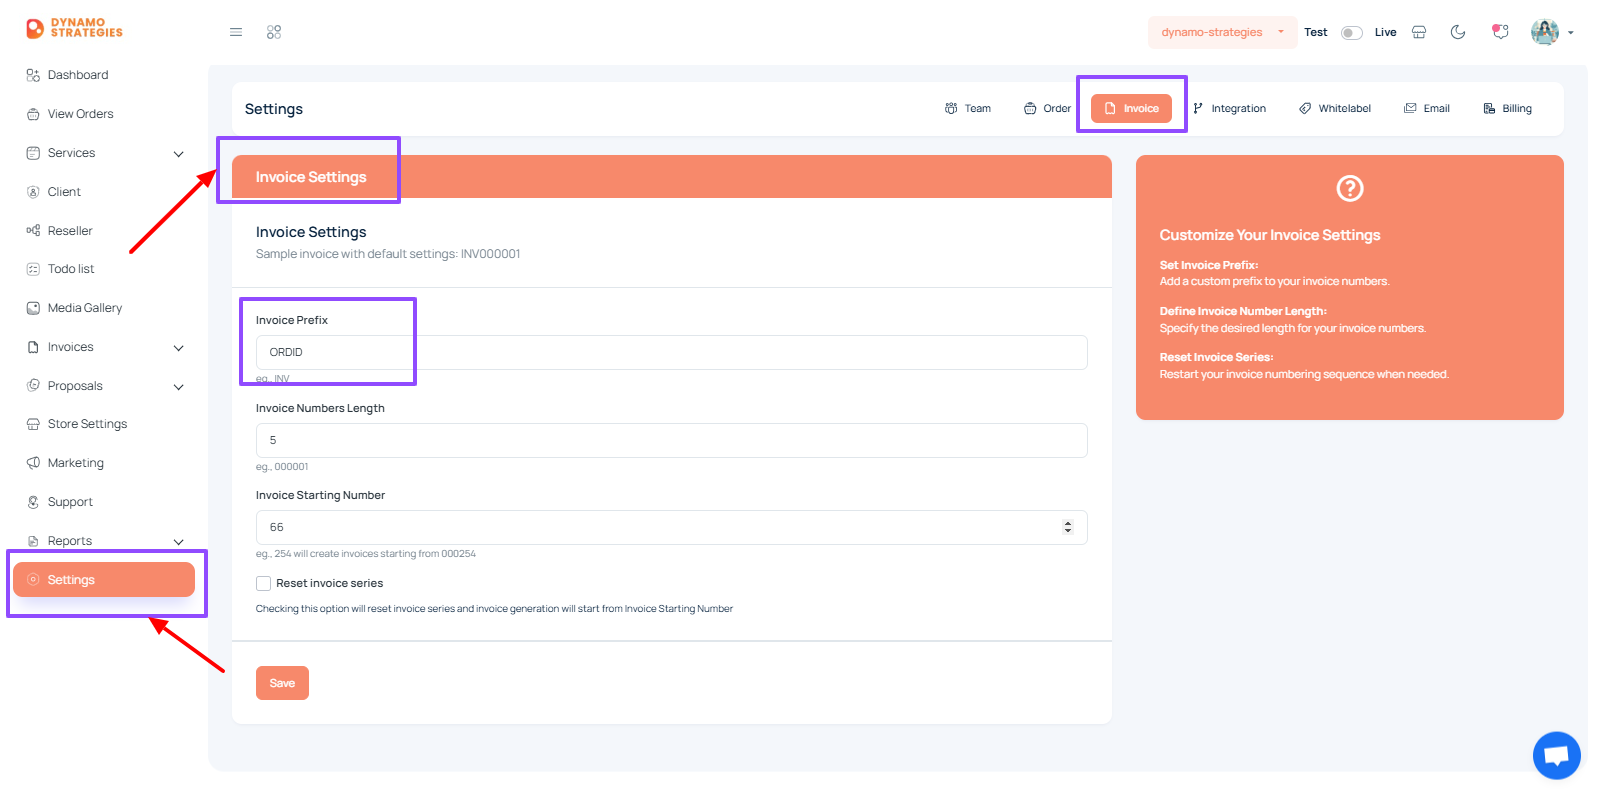
Invoice Settings #
The “Invoice Settings” section in the Agency Simplifier admin account is where you configure how invoices are generated and formatted. You can set custom prefixes, define the length of invoice numbers, and adjust the starting number in the invoice series. Here’s a detailed explanation and step-by-step guide for managing invoice settings.
Steps to Configure Invoice Settings: #
- Access your account on the agency’s platform using your credentials.
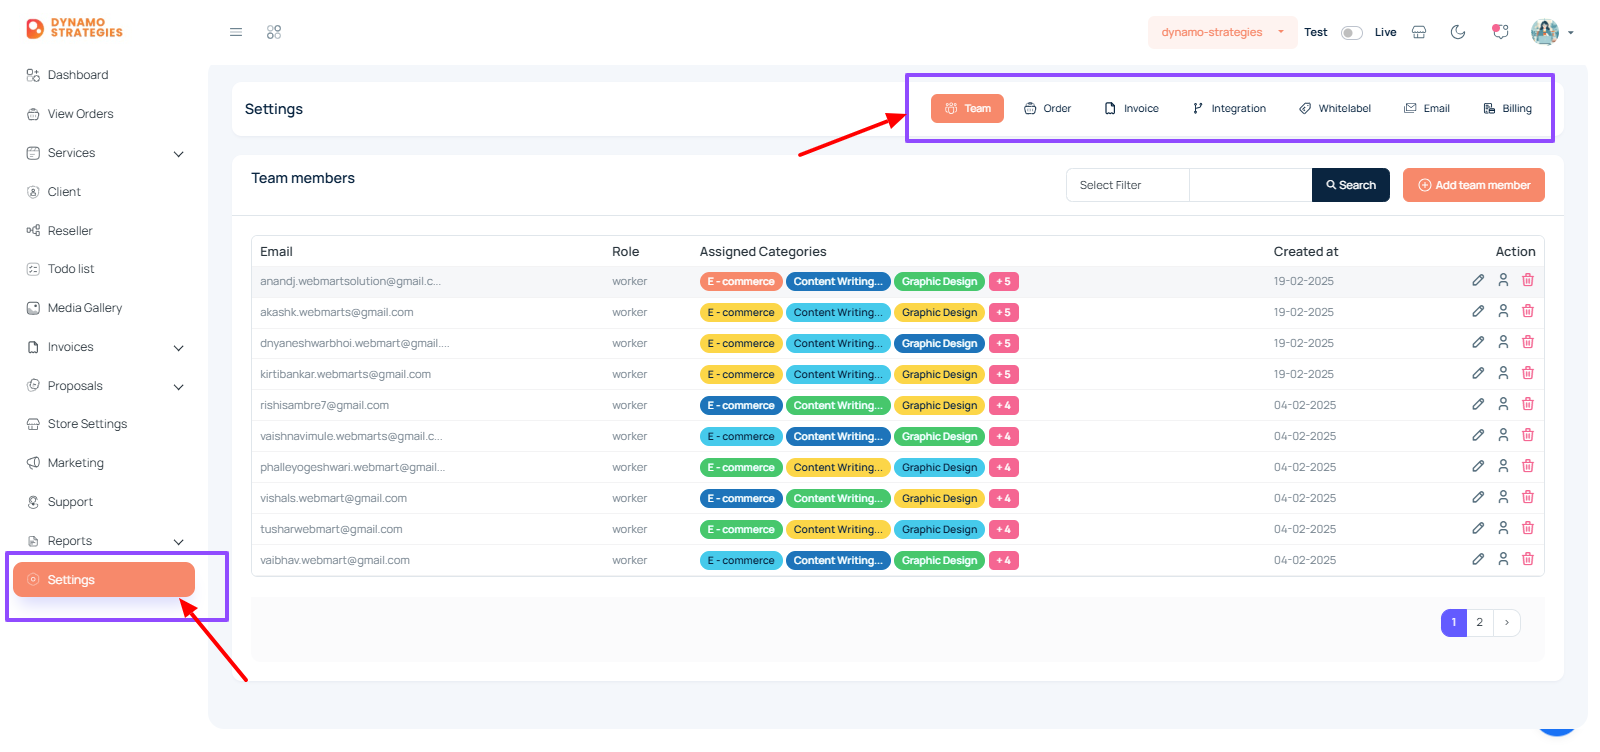
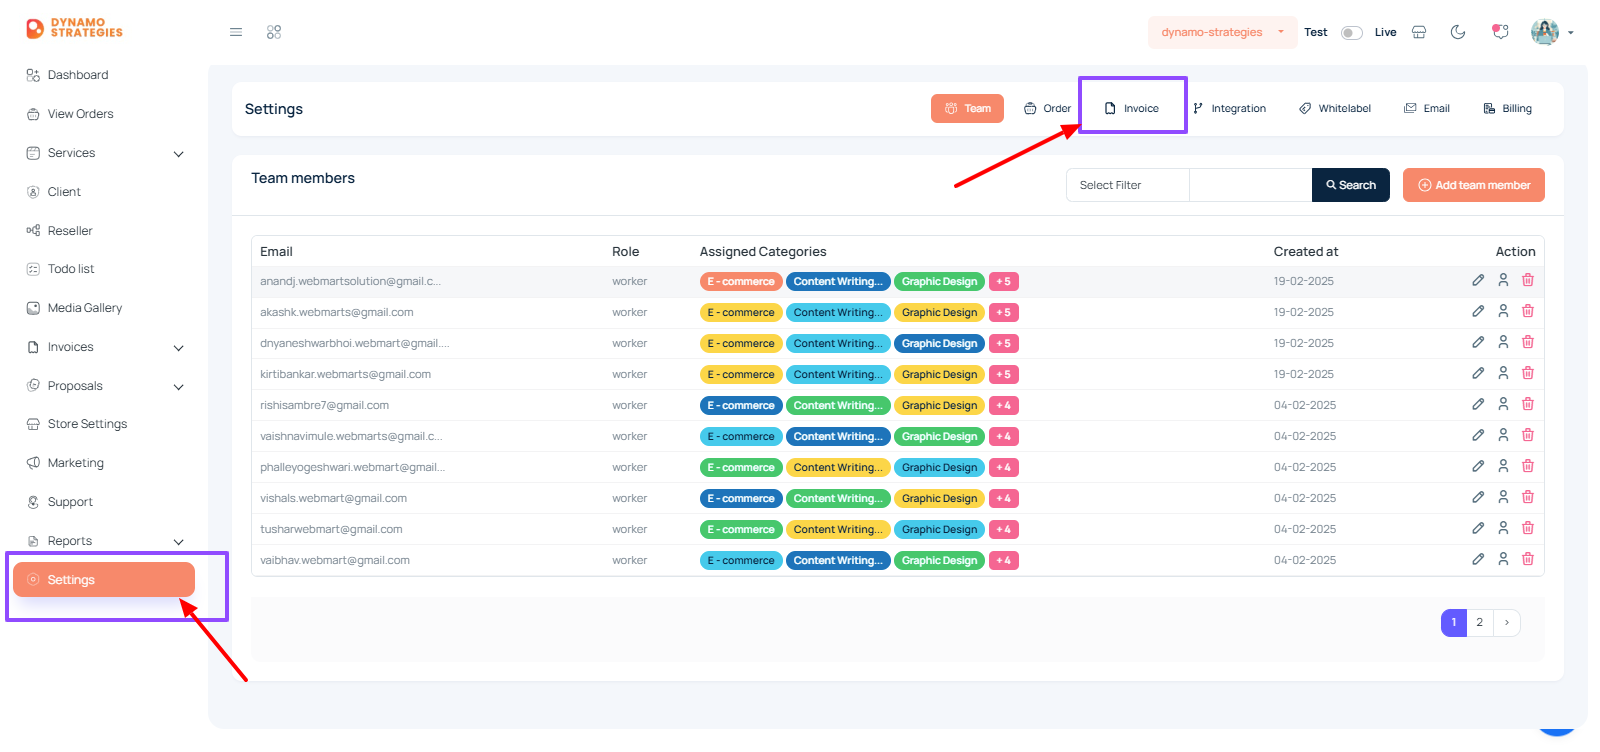
- From the left navigation menu, click on “Settings.”

- The list is displayed on the right side of the page.
- Select “Invoice Setting” from the list.
- This will open the Invoice Settings configuration page.
Setting an Invoice Prefix: #
- The “Invoice Prefix” field allows you to add a unique prefix to all invoice numbers (e.g., “ORDID” in the screenshot).
- Enter a custom prefix that you want all invoices to start with. This helps distinguish your invoices or adds branding to the numbering system.
- Example: Typing “INV” would make the first invoice number appear as “INV00001.”
Defining Invoice Number Length: #
- In the “Invoice Numbers Length” field, specify the total length of the invoice number after the prefix.
- For example, if you set the length to “5,” the invoice numbers will be padded with zeros (e.g., “00001”).
- Adjust this length based on your agency’s needs and volume of invoicing.

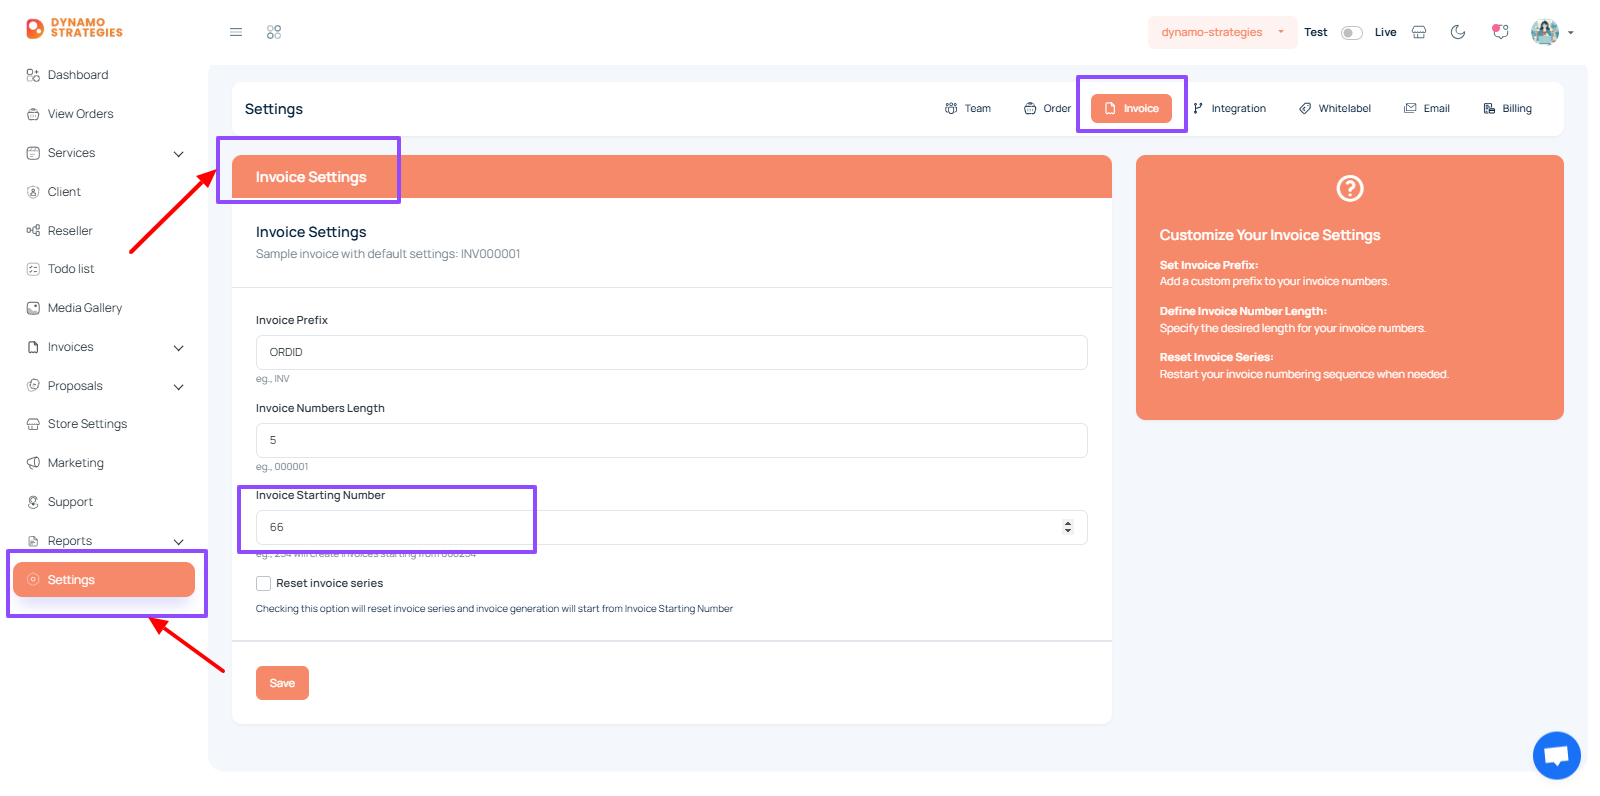
Setting the Invoice Starting Number: #
- “Invoice Starting Number” allows you to choose the first number in the invoice series.
- Enter the number you’d like the series to start from. For example, if you enter “66,” the first invoice will be “INV00066” (assuming the prefix and length settings).
- This feature is useful if you want to resume a sequence from a specific point.
Resetting the Invoice Series: #
- To start a new invoice numbering sequence, check the “Reset invoice series” box.
- This option will reset the numbering, and new invoices will begin from the “Invoice Starting Number” specified.
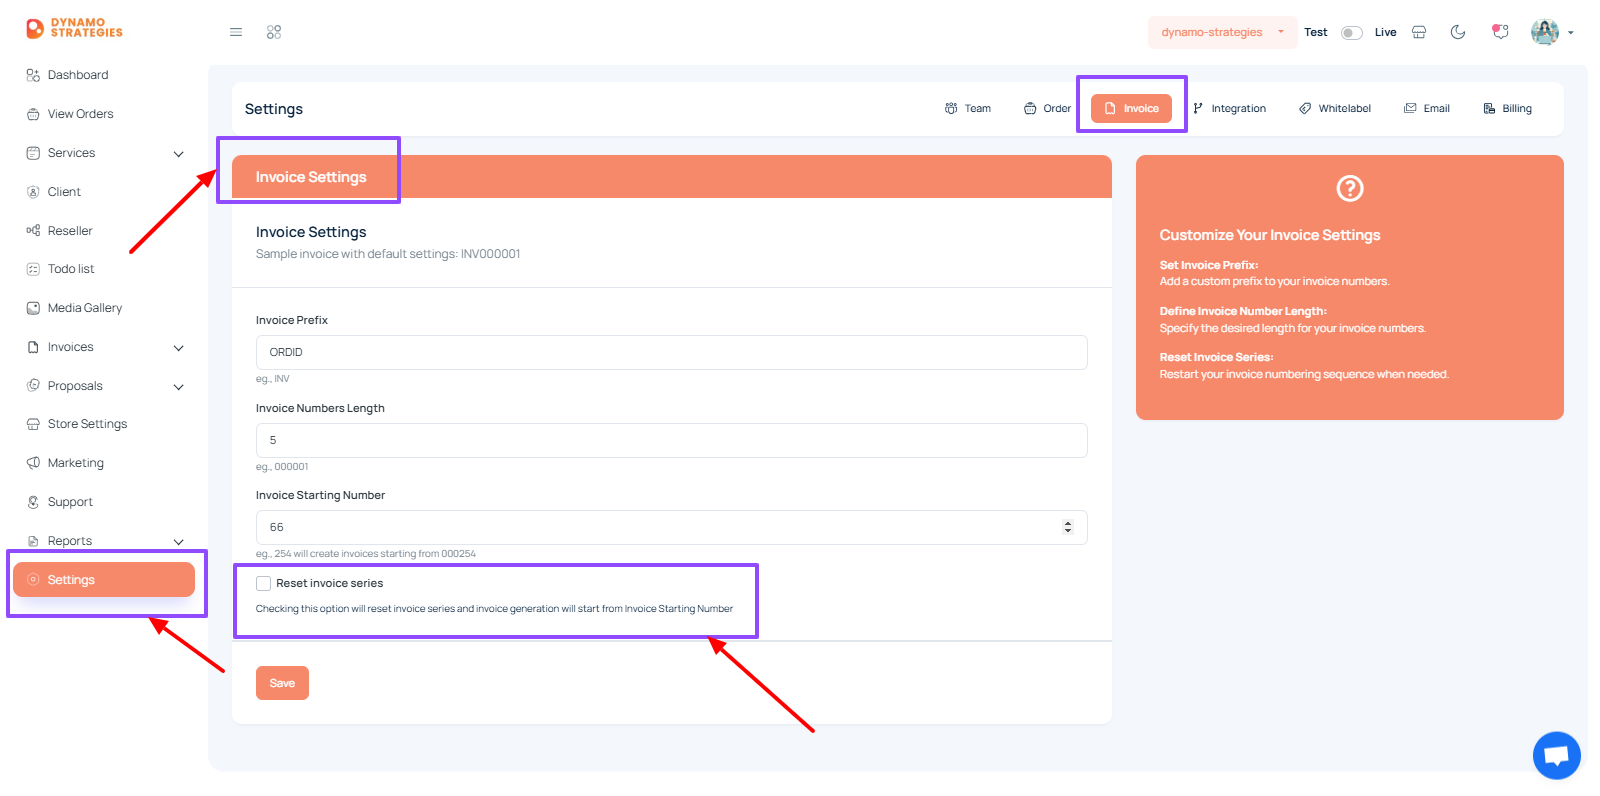
Saving the Settings: #
- After making all necessary adjustments, click the “Save” button at the bottom to apply your changes.